7 Simple Ways to Practice Sewing Straight Line Stitches Straight line stitching How many times have…
Let’s Talk Tension Again: How to Avoid Tension Problems
Let’s talk tension again! But, this time let’s talk about prevention and how to avoid major tension problems with your sewing machine.
The previous article discussed how the relationship between fabric, thread and needle work together to form a good quality stitch. In order for your machine to achieve quality stitches, it needs three things: proper needle, suitable thread and properly adjusted thread tensions.
Choosing the proper needle avoids tension problems
Using the proper needle for the thread and fabric is the best way to start. Although needles are the smallest item in relationship to the many other parts of sewing machine, they are very important to stitch formation. Many of the tension problems encountered are the direct result of a bent, damaged, or incorrect size or type needle.
Keep the following in mind, when choosing the correct needle for your fabric: the shape and size of the needle point assures proper stitch formation and avoids damage to your fabric. Generally, the smaller needle sizes are used for lighter weight fabrics and the larger needle sizes used for heavier fabrics. You should change the needle after sewing for 8 hours or for each time you start a new project.
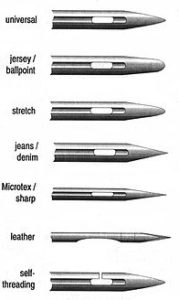
The groove that’s in front of the needle should be large enough for the thread to fit to protect the thread as it passes through the needle’s eye. If the needle is too small the thread can’t stay in the groove to form the loop needed to be picked up by the point of the bobbin hook.
Sewing machine needles are under two different systems
Sewing machine needles are labeled under a European and Domestic system. But, regardless of the system, just remember the greater the number, the larger the diameter of the needle.
European vs. Domestic
60=8; 70=10; 75=11; 80=12; 90=14; 100=16; 110=18; 120=19
Needle Size for Fabrics
60/8 – very fine batiste
70/10 – shirt-weight
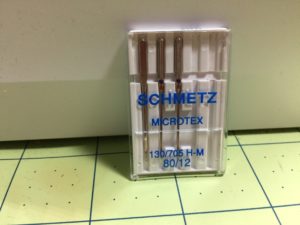
80/12 – medium-weight
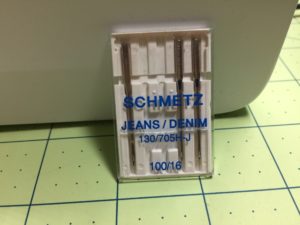
90/14 – denim and twill
100/110/120 – canvas
Choosing the correct thread helps to avoid tension problems
The type of thread you use also plays an important role in getting quality stitche and helps to avoid tension problems. Since the thread passes through the eye of the needle between 30-40 times in a seesaw action before it forms a single stitch, it’s critical to use good quality thread. If the thread is of poor quality or the wrong type can cause frayed thread, crooked and looped stitches, puckered seams, and needle breakage.
Each type of thread has specific characteristics and will behave differently on sewing machines. Threads are either made of a natural fiber (cotton, wool, silk, linen) or synthetic fibers (rayon, polyester, nylon). While there are dozens of fiber types that could be twisted and spun into thread, there are a handful of common fibers that are used in sewing, quilting, serging, and embroidery.
Most bargain-priced threads are usually short staple and will deposit more lint and fuzz into your sewing machine, potentially causing tension inconsistencies and possibly even damage to your machine over a long period of time. It has more lint and breaks very easy.
High quality thread helps avoid tension problems
The higher the thread quality, the better for you and the more sewing you get done without interruption. High quality threads are long staple threads much stronger and smoother than short staple threads. Using long staple threads also result in less snagging and fraying as you sew.
Thread is measured and categorized in different ways
The thread measurement standard is a bit confusing because each brand uses different measuring methods. So you may see inconsistencies between brands printed on the label and will have to count on your own experience and judgement as far as the weight of thread.
Most of the sewing machine thread used for garment construction falls in the all-purpose category and is usually 40 wt. Each spool of thread may show a number such as 50/3 or 30/3 to indicate the weight and ply number. This usually means the thread’s weight is 50 and 3-ply (how many strands of yarn to make a single thread), or 30 weight and 2-ply. You may see 2-, 3- and 4-ply threads. The smaller the weight number, supposedly the heavier or thicker the thread. The higher the weight number, the lighter or finer the thread.
Just be aware of the inconsistencies on the label when you are looking at different brands and try to avoid bargain-priced thread.
The different types of sewing thread
Now take a look at fibers used to produce the thread to help you match the correct thread with your chosen fabric. If you shop for thread online and don’t know you should coordinate the thread type with your fabric, you just might order one that matches the color without any consideration of the thread type.
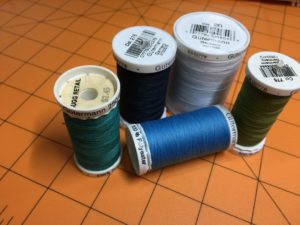
Polyester thread:
Good for clothing construction on man-made, natural or blended fabrics. Tolerates high temperatures. Polyester embroidery thread has a high sheen; excellent for embroidery, very abrasion resistant, and will not fade.
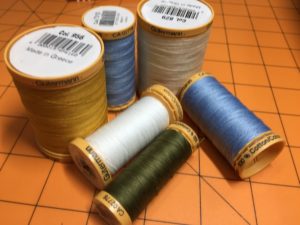
Cotton thread:
Available in a wide range of weights from 12-100, cotton thread gives a soft, full look to embroidery, appliqué, and buttonholes. It is also excellent for clothing construction on natural fibers, patchwork piecing, darning, and heirloom sewing.
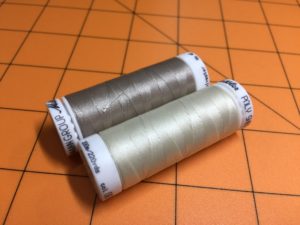
Rayon thread:
A glossy embroidery thread, rayon is not as strong as cotton and polyester fibers, making it useful for decorative work, but not for construction techniques.
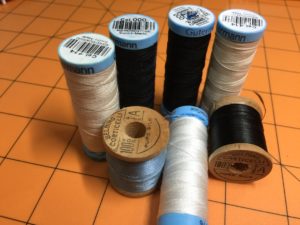
Silk thread:
Used on silk and wool fabrics, this strong, lustrous fiber is good for construction and decorative details such as buttonholes. Also used for quilting as it blends into the fabric.
Knowing how to thread your machine helps avoid tension problems
Now that you have the correct needle in your sewing machine and the correct type of thread to go with your fabric, it’s time to thread your machine. If you only have one spool of thread, you should first wind your with the same thread that you will use in the needle.
The selected thread should fit in the groove on the front of the needle. If it isn’t protected by the groove, a needle with a larger groove should be used.
Another way to avoid tension problems, always thread your machine with the presser foot foot raised. This opens the tension discs and allows the thread to set properly. Additionally, make sure your needle is fully inserted as high as possible, with the flat side to the back.
Before placing your spool of thread on the spool pin, take a look at your thread to see how it’s been wound on the spool. Most thread manufacturers wind the thread by stacking or crossing.
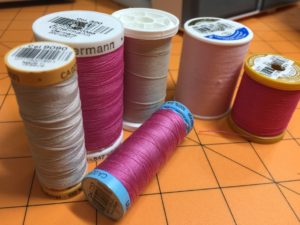
The stacked threads are wound onto the spool horizontally, one row on top of another creating a straight line pattern, and the cross wound thread goes on in a zigzag design. Since each type of thread is wound on the spool differently, each one comes off or feeds off differently and could wrap around the spool pin.
In an effort to prevent the thread from wrapping around the pin, sewing machine manufacturers added the horizontal spool pin. If you notice, the older sewing machines only have the vertical spool pin. If your machine has both spool pins, you determine which one to use based on the way the thread is wound onto the spools.
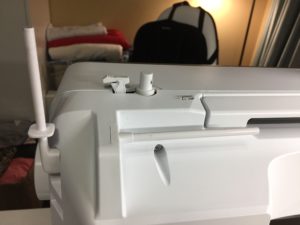
The stacked wound thread works best on the vertical spool pin, while the cross wound thread works best on the horizontal spool pin. The direction of the thread in relationship to the direction of the spool pins allows the thread to come off the spools more evenly and prevent tangling.
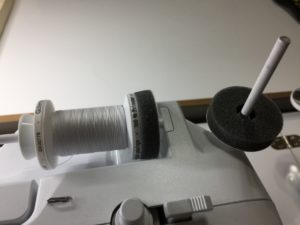
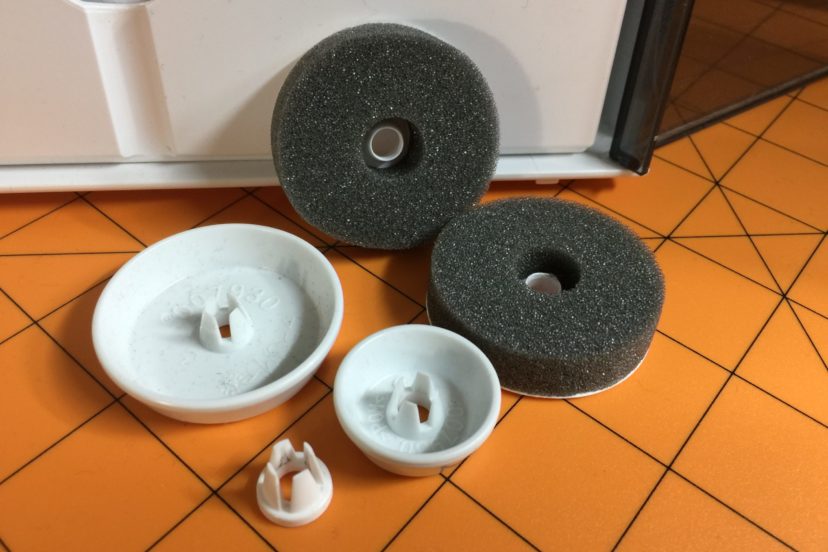
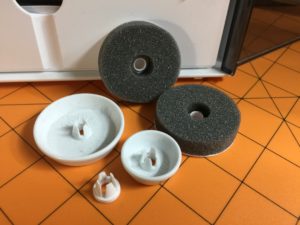
If your machine comes with a foam or felt pad and spool caps, be sure to use them to help keep the thread from wrapping around the spool pin. Spool caps come in different sizes and are designed to hold the cross wound spools in place on the horizontal spool pin. You should match the correct spool cap size with the size of the spool cone so the thread can’t get between the cap and the cone and tangle up. Unfortunately, if the thread does get tangled between the cap and the cone, it tightens to the point of breaking away from the spool or breaking a needle.
Lastly, maintain your sewing machine by keeping it cleaned and oiled by following the instructions in your owner’s manual. Overall, it is recommended that you clean and oil every other bobbin at least, or every 3-4 hours of actual sewing time. Or, if you notice your machine sounding louder than usual, then it is time to clean and oil.
The needle is the least expensive item in your sewing machine, but it is crucial for getting good results and keeping your machine running well. Buy them in bulk so you always have them on hand for your projects.
Here’s a short video to watch to help you with your sewing machine tension. Just click on the link below.
